
 Painting Workshop: May 21...
  Personalized Hand Drawn a...
  Dangle Necklace Scarf
 Tag: handmade
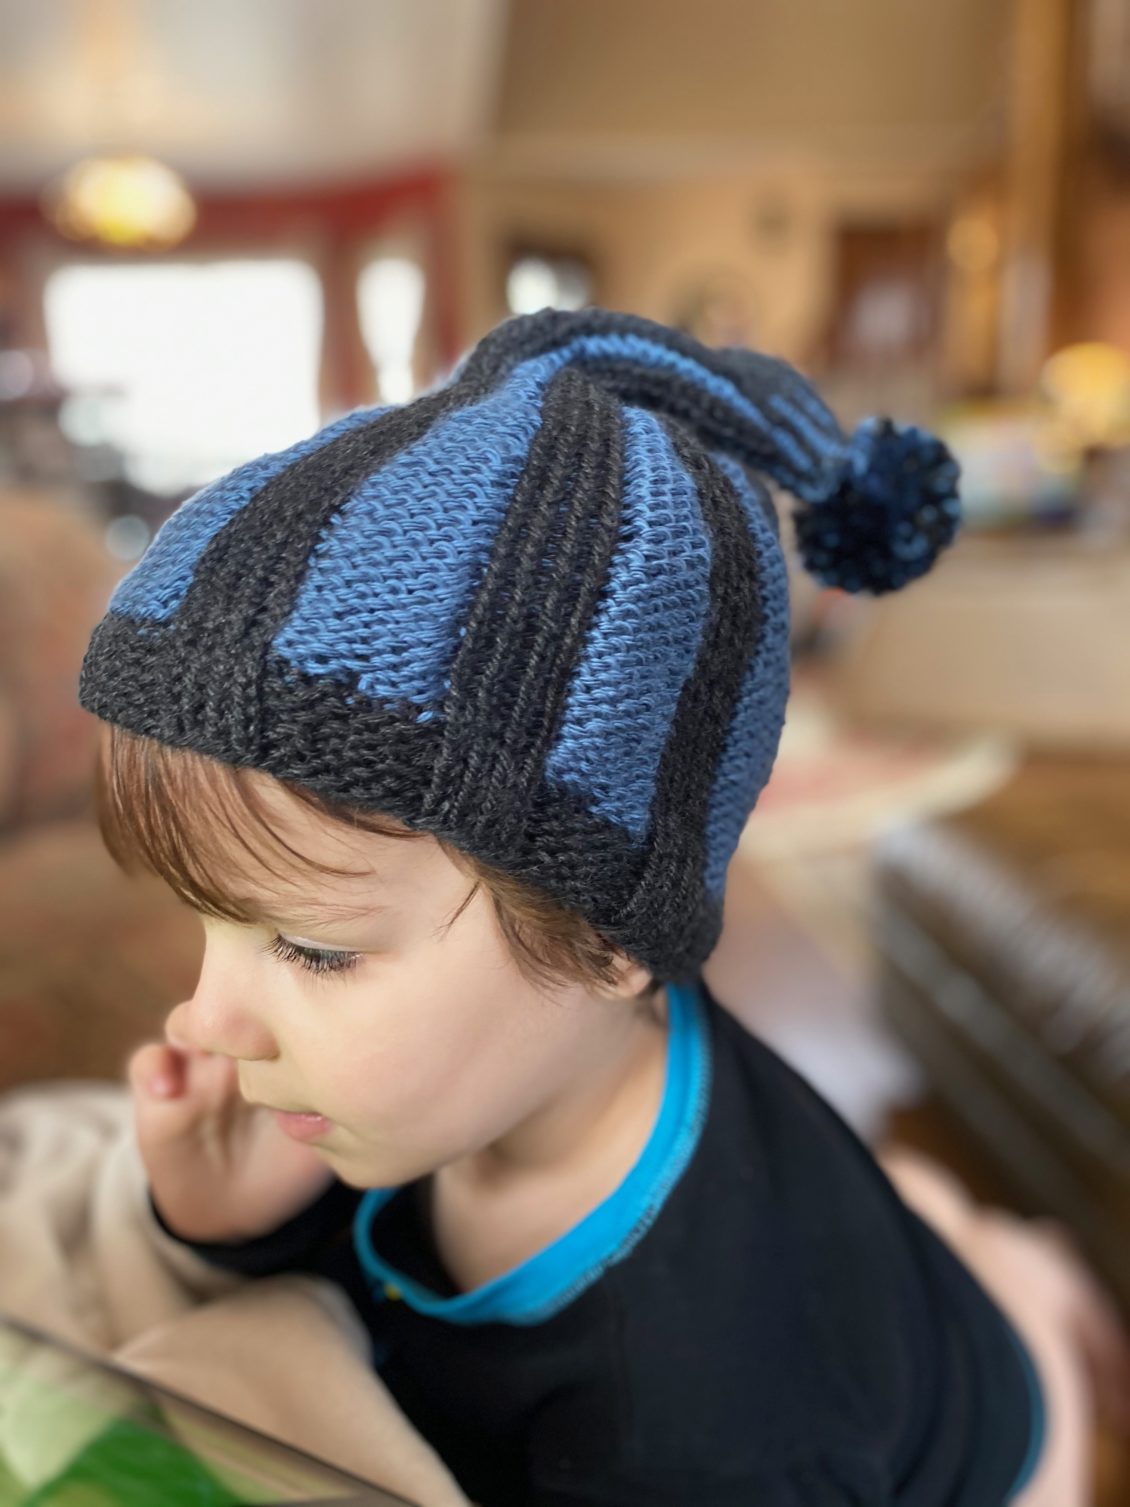
Elf Point: Knit Hat Pattern
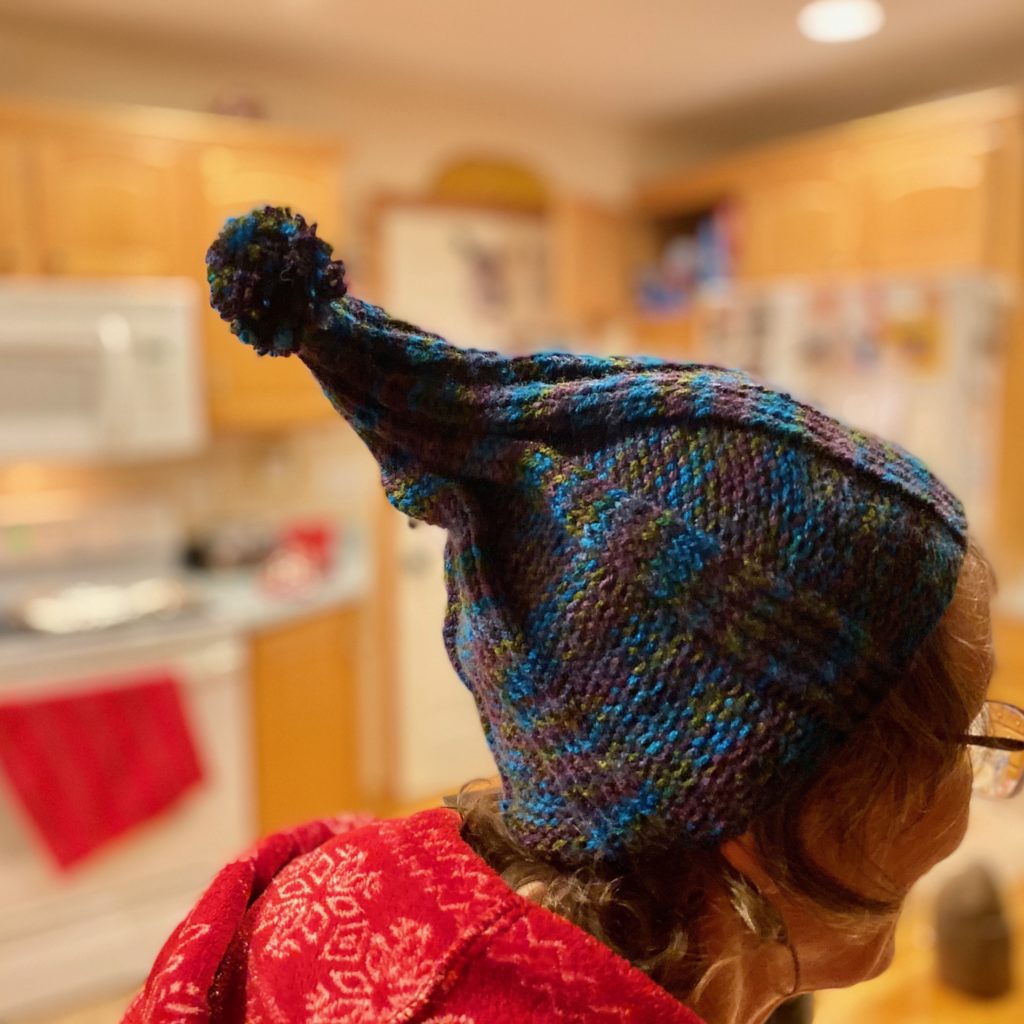
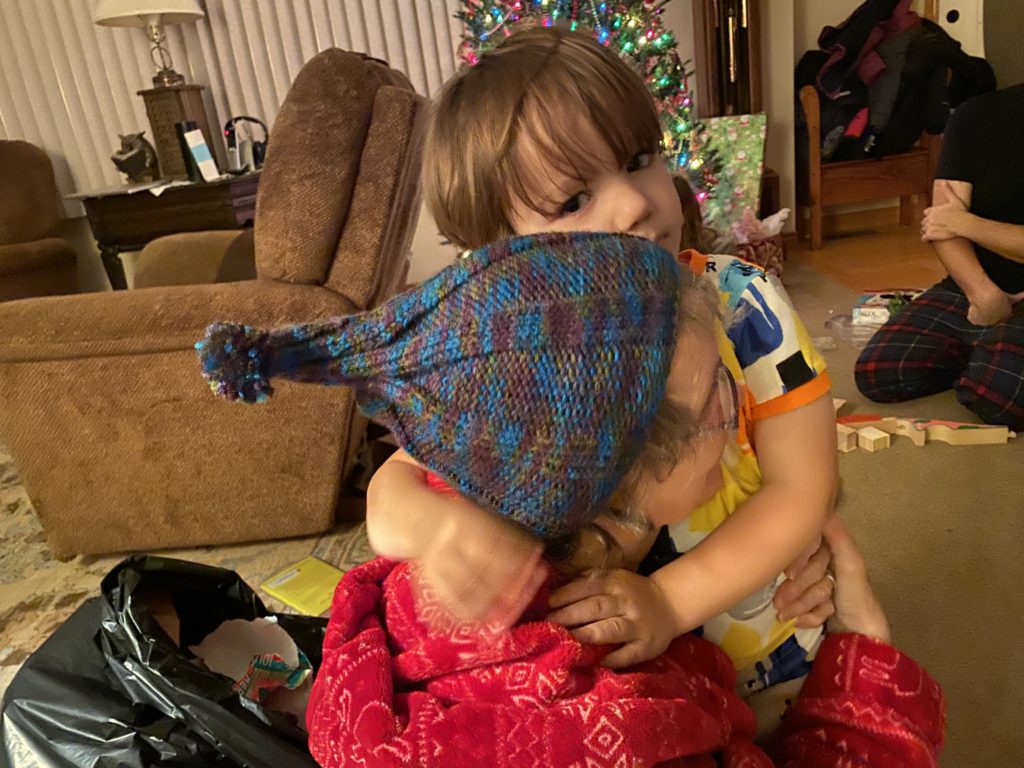
Let me start by saying I LOVE THIS HAT!!!! It’s so cute! And so much fun to make! I created this design when my mother-in-law wish listed a new hat to be made by me on her Christmas list. Originally I was just going to make a hat that looked similar to the one worn by Dafne Keen’s character in His Dark Materials, Lyra Belacqua. (I still want to make a double thick hat like hers.) However, I changed my idea midway through and my mil looks adorable in her new hat!
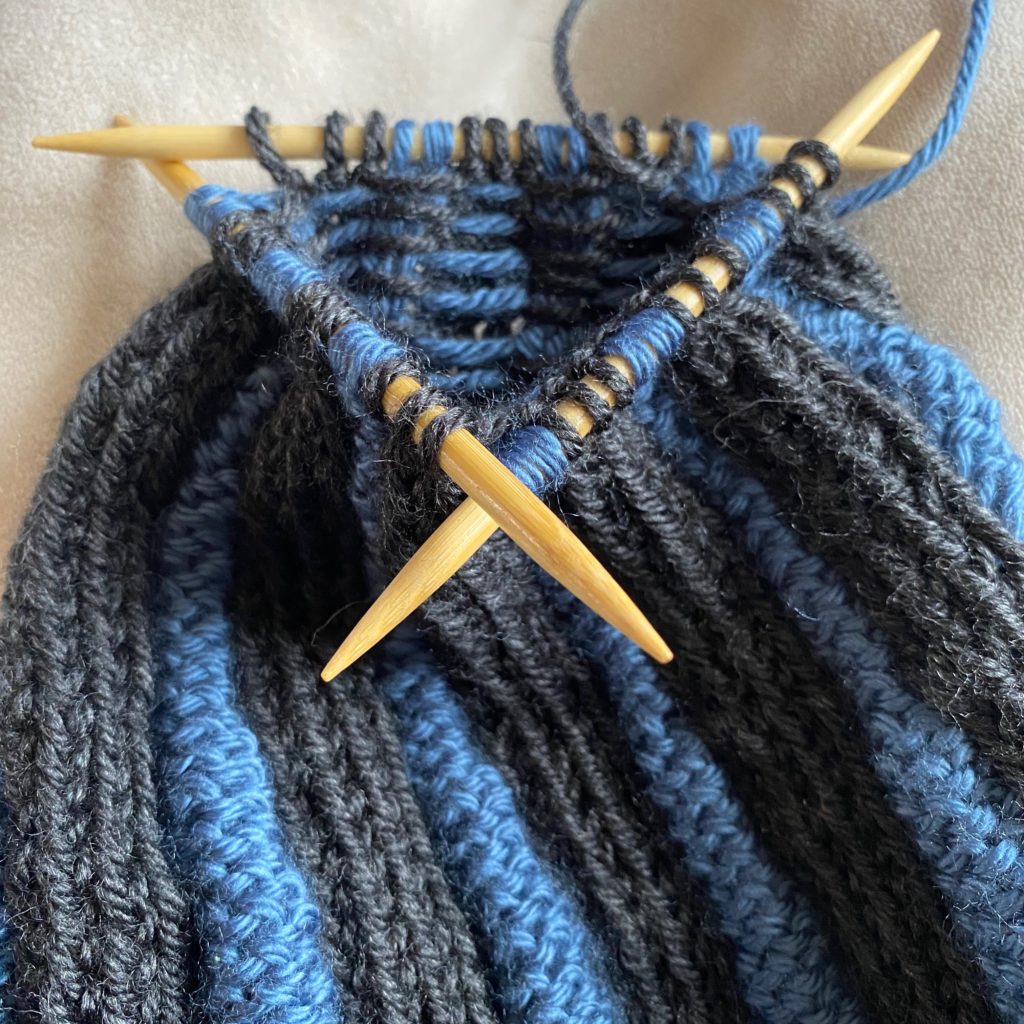
This design requires the use of dpns (double pointed needles, for the unfamiliar). If you’ve never worked with them before or have little experience in this area, this could be a great project to practice that skill set! There are tons of videos out there exampling how it’s done, but the gist of it is to knit from the stitches on each needle to the extra one in your hand. It’s just like traditional knitting, transferring the stitches from one needle to the next. Pretty simple!
An additional feature to this hat design, is that it makes it easy to play around with multiple colors! Create your own unique design with your hat just by changing colors! Another great way to practice colorwork!
I hope you all enjoy this design and have fun making lots of adorable hats for friends, family, and children (of any age) in your life! I could totally see someone making this cutie for a family pet as well! Just add a little yarn to fasten it!
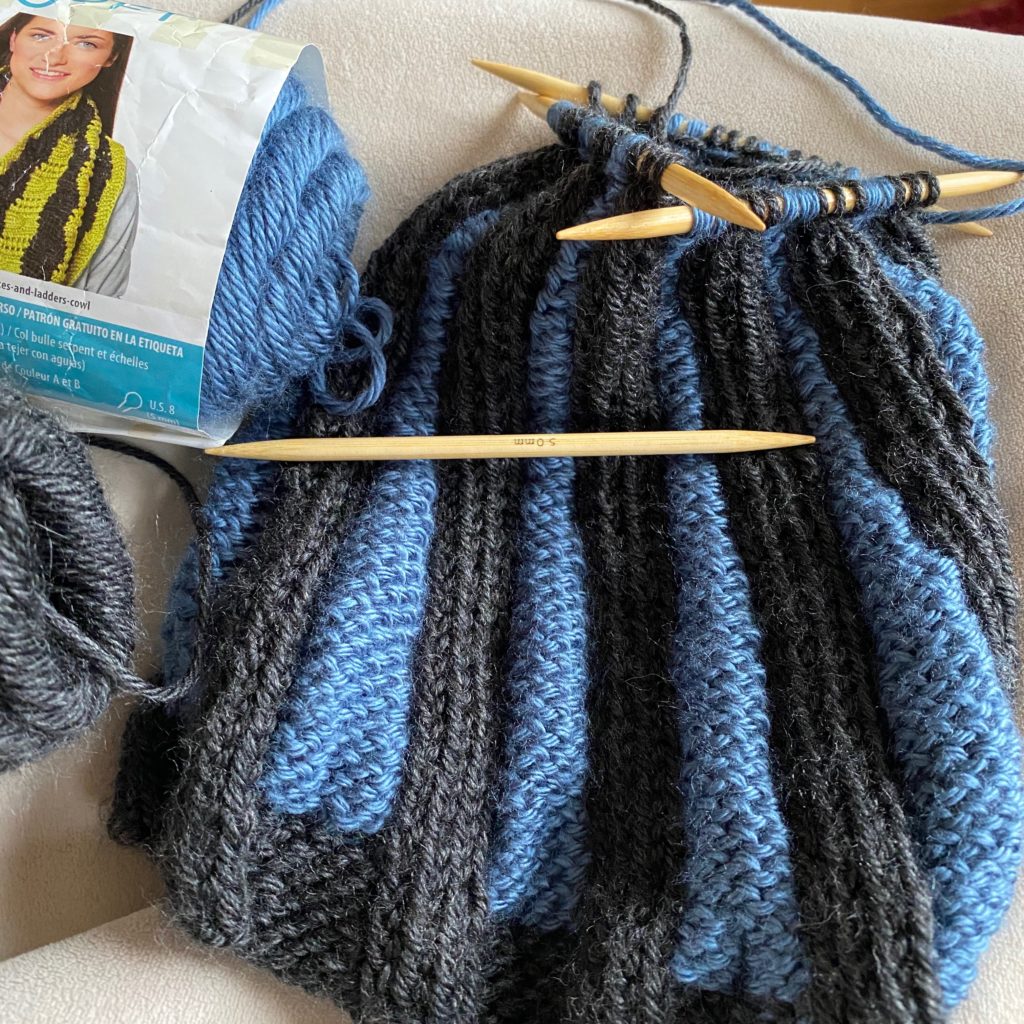
Needles: 5.5mm short needle and circular 24” link and 4dpns Yarn: Caron simply soft (medium 4) (pictured here in charcoal heather and country blue)
Cast on 70 (XS/child) / 80 (S/Big Kid) / 90 M adult female) / 100 (L adult male) —size adjustments should follow the above pattern so smaller than child would be 60 or 50 and xl would 110.
Join round.
R 1 – 30 or 40+(depending on length desired and size of head): *k4, p6 (*repeat pattern for 1 row of 6/7/8/9 times depending on size)
Thirty rows worked nicely for me here, but if I were making it for my husband or wanted more of a tail then I’d do 40+ rows before decreases.
Gradually decrease
*K4, p2tog, p4 (*repeat 1 row) continue k4, p5 for 10 rows (# rows depend on length desired and size of head)
*K4, p2tog, p3 (*repeat for 1 row) continue k4, p4 for 10 rows
*k4, p2tog, p2 (*repeat for 1row) continue k4, p3 for 5-10 rows
*k4, p2tog, p1 (*repeat for 1 row) Continue k4, p2 for 5+ rows
You may want to switch to your dpns at this point.
*K2tog, k2, p2(*repeat for 1 row) continue k3, p2 for 5 rows
*k3, p2tog (*repeat for 1) continue k3, p1 for 5 rows
* k2tog, k1, p1 (*repeat for 1) continue k2, p1 for 5 rows
Opt. *k2tog, p1 (*repeat for 1) continue k1, p1 for 5 rows
Bind off, leaving a long tail for sewing pompom. You may also stitch closed the opening on top.
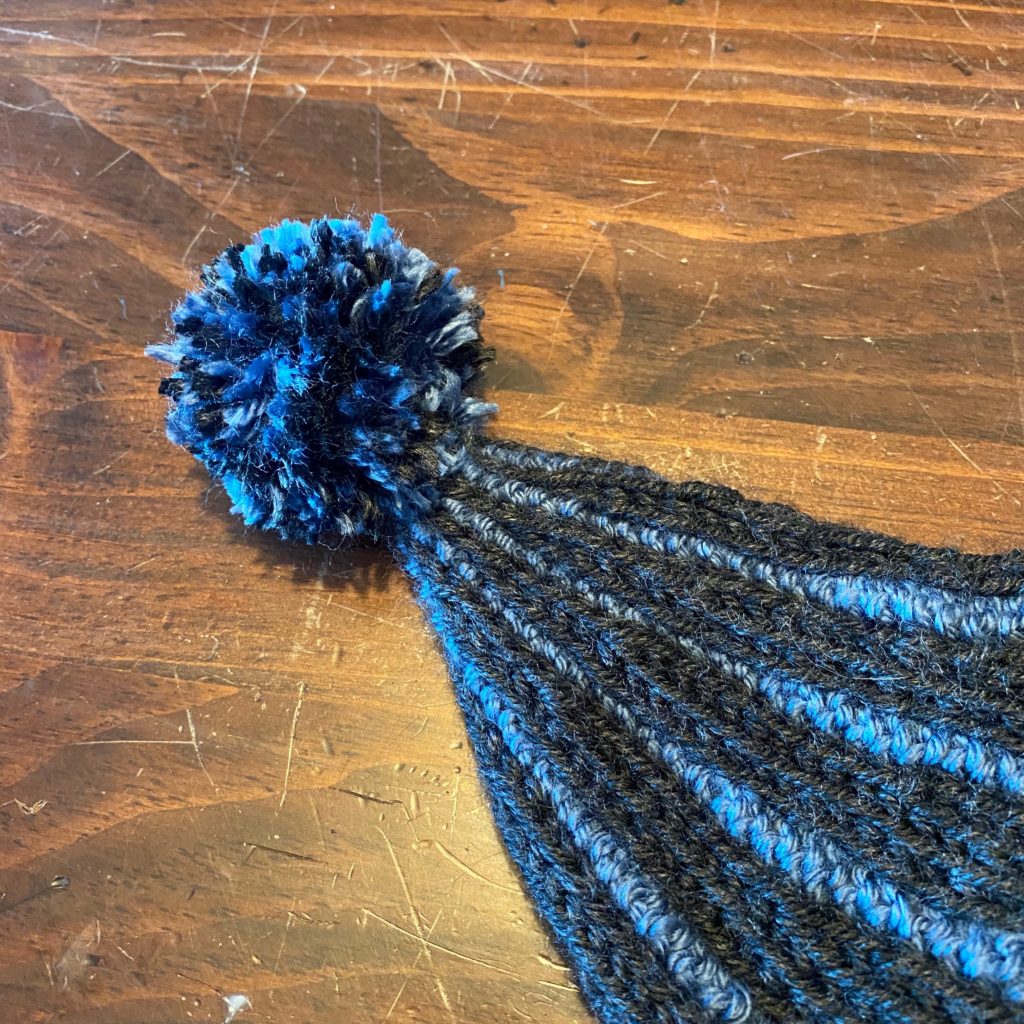
Pompom
I just used my hand to create this pompom. It’s small enough to use three fingers on your non-dominant hand, wrapping the yarn around about 50 times for a nice, full pompom. Cut off an extra couple strands of yarn and tighten it around the center of your yarn bound around your fingers. Cut looped threads and trim evenly around to create your pompom.
Sew pompom to top of your hat point. Thread final length of threads into inside of hat and knot together tail from hat and pompom. Cut threads shorter but not too short so they come undone.
Visit me over at my instagram account @geekcrafty for progress pics of what I am currently working on!
 Elf Point: Knit Hat Pattern
  Use What You’ve Got!
  The Crocodile Stitch: Dragon Scale Neck Warmer
  #hatnothate: The Peace of Mind Hat
  Getting Foxy in Dark
Recent Comments